Requirements
- Microsoft Certificate Authority in Enterprise mode
- Domain Controllers must have Domain Controller certificates. See CTX218941 FAS – Request not supported
- Citrix Virtual Apps and Desktops or XenApp/XenDesktop 7.9 or newer
- StoreFront 3.9 or newer
- NetScaler Enterprise edition for nFactor running build 12.1 build 50+
- The requirement is if you want to use native workspace app, if you only require browser than anything from 11.1 should be fine
Azure setup
Now let’s keep in mind that I’m a major newbie to the whole azure, so there might be smarter way of doing some of the stuff I’m going to show, but it works.
In my Azure tenant for Netscaler.dk I’ve added my work account from edgemo.com, so my validation will happen with my edgemo account.
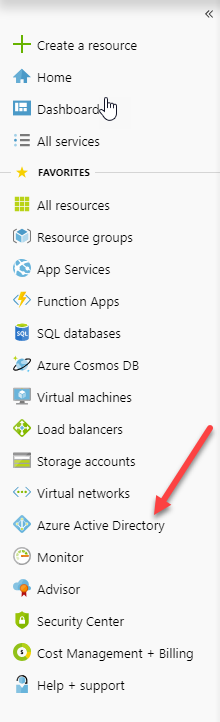
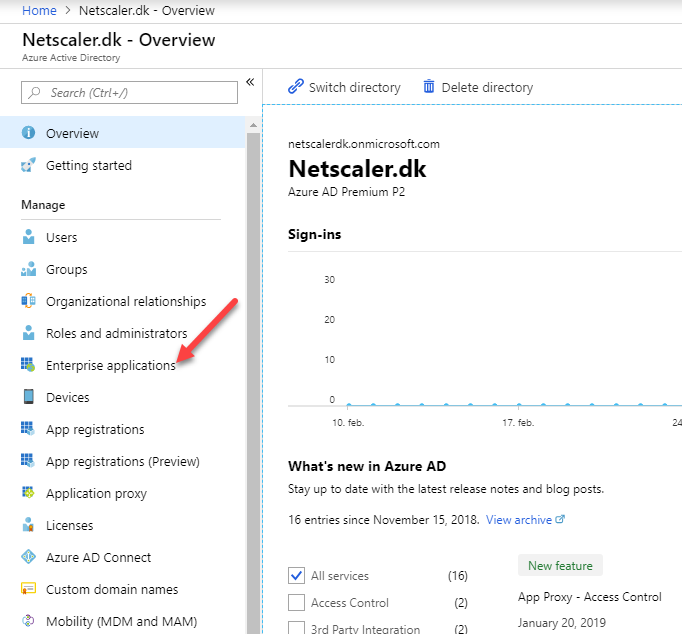
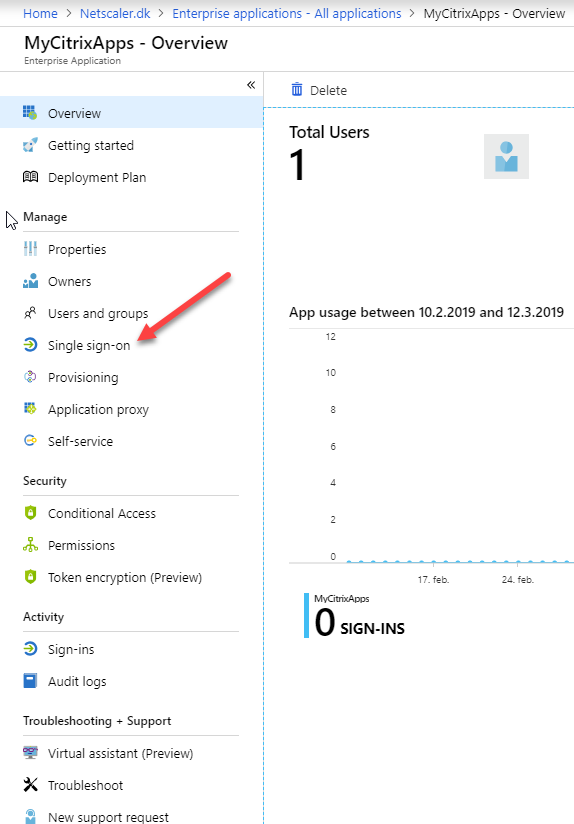
In the Azure portal go to Azure Active Directory.
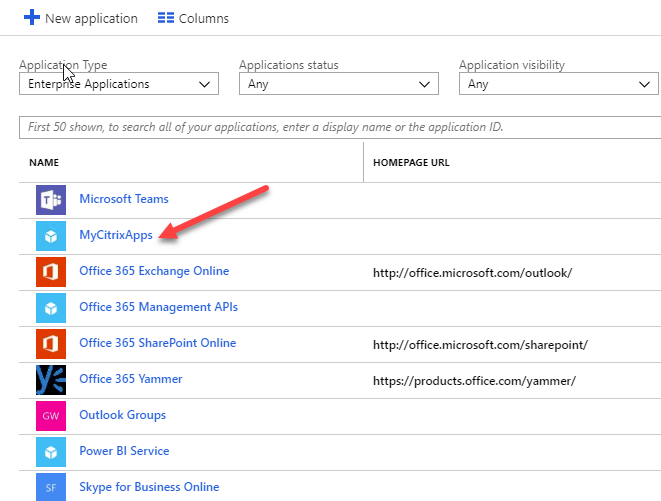
Click on Enterprise Application, where we can have a look at my “Citrix Apps” application, which is just a SAML Single sign-on application (It’s a Non-gallery Application, so make sure to select that when you add our new application).
Since I’ve already created my App, I will just click on the MyCitrixApps, to get the properties.
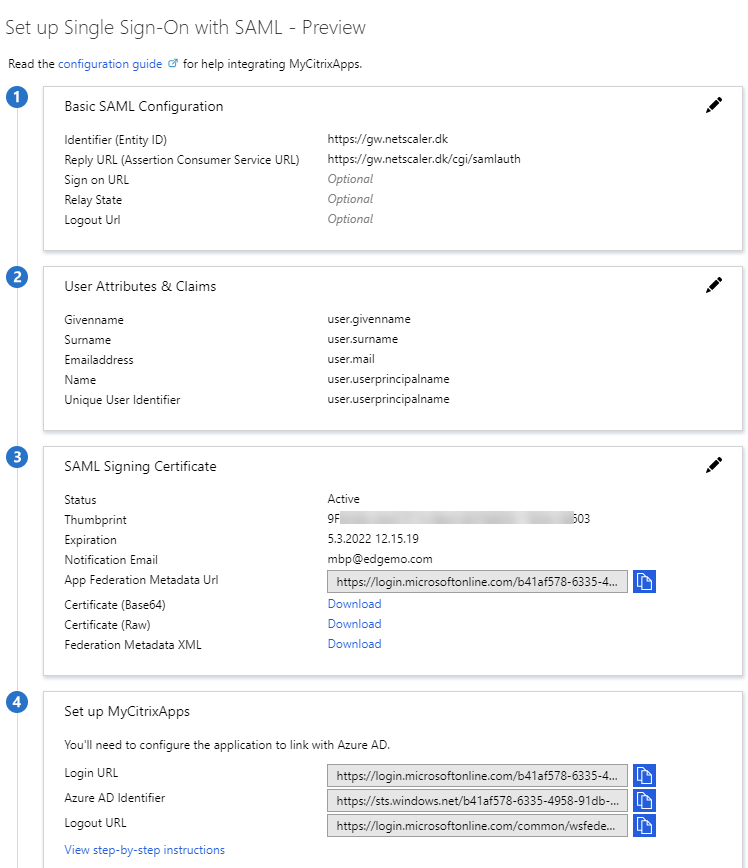
The properties of the Application allows you to do different stuff, like controlling Single sign-on and Conditional Access, and who gets the use the new Application. Since I want to allow single sign-on from my Citrix Unified Gateway, I have to setup the SAML information.
The information that I filled out was:
Identifier (Entity ID): https://gw.netscaler.dk
Reply URL (Assertion Consumer Service URL): https://gw.netscaler.dk/cgi/samlauth
Notice that there is an App Federation Metadata URL, which will make the setup of the SAML server on the Citrix ADC much easier. This I will show you later on.
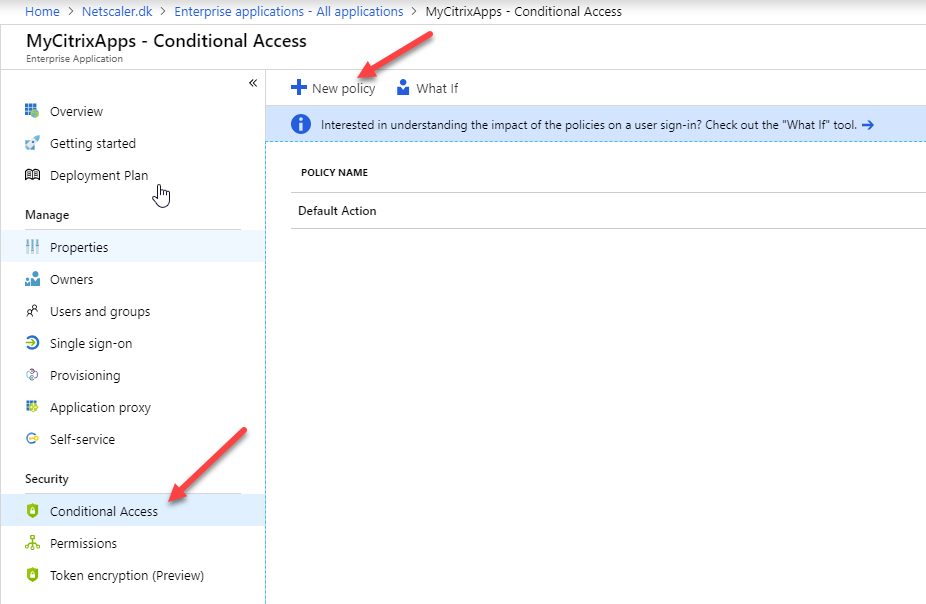
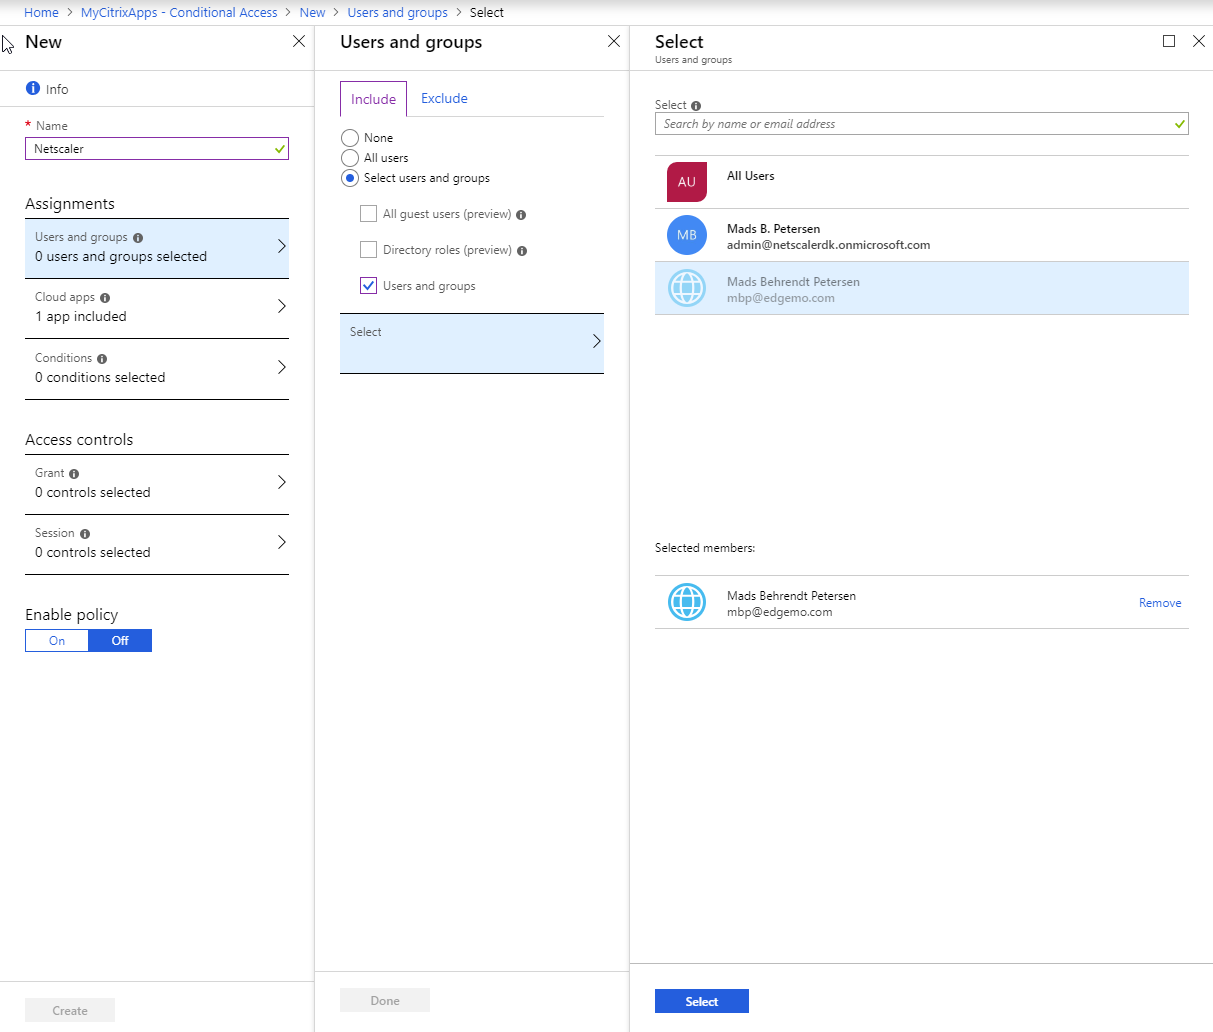
Now to use setup Conditional Access we have to setup a new Policy, so in your App go to Security – Conditional Access – Click New.
Next up is the conditional Access. Since this is just a Proof of Concept, my conditional access will be very simple.
If the User Mads logs on to the environment using Windows, he will be required to provide MFA. If he doesn´t use Windows, a password will be enough. Now let’s look at how that is configured.
Under Conditional Access click New Policy.
I name my policy Netscaler.
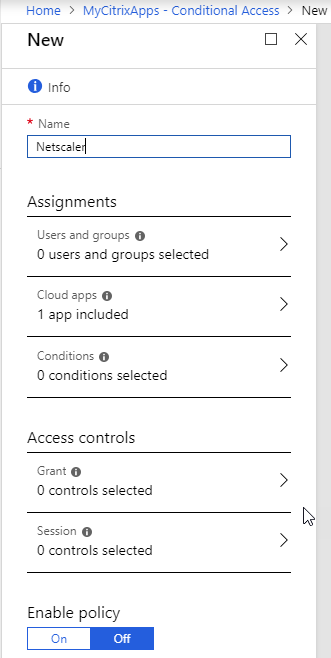
Next I will select the User/group that it will be applied too.

Next I will have to setup the conditions that will apply, in my case it will be limited to Windows.
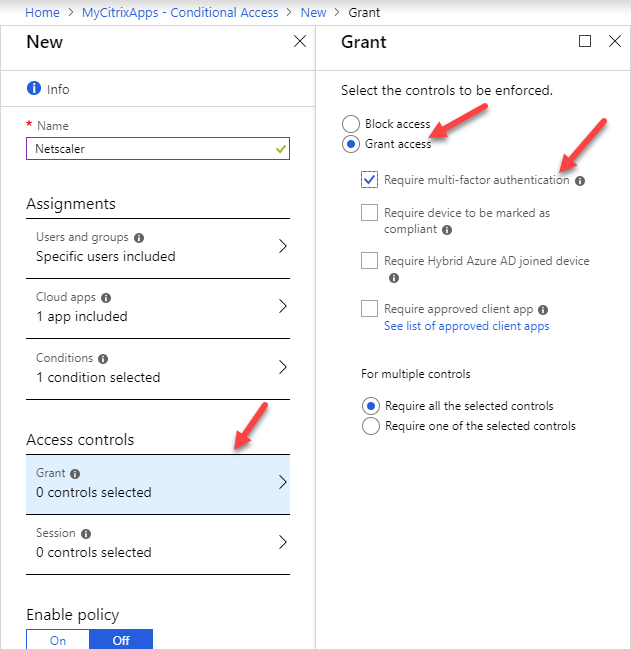
After you selected the conditions that are suited in your environment, you have to do the Access Control. For this setup it will Grant Access, but require MFA.
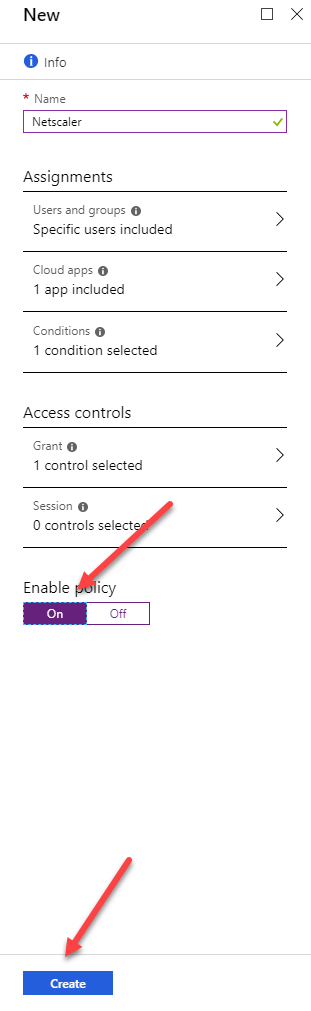
Lastly remember to enable the Policy and Create it.
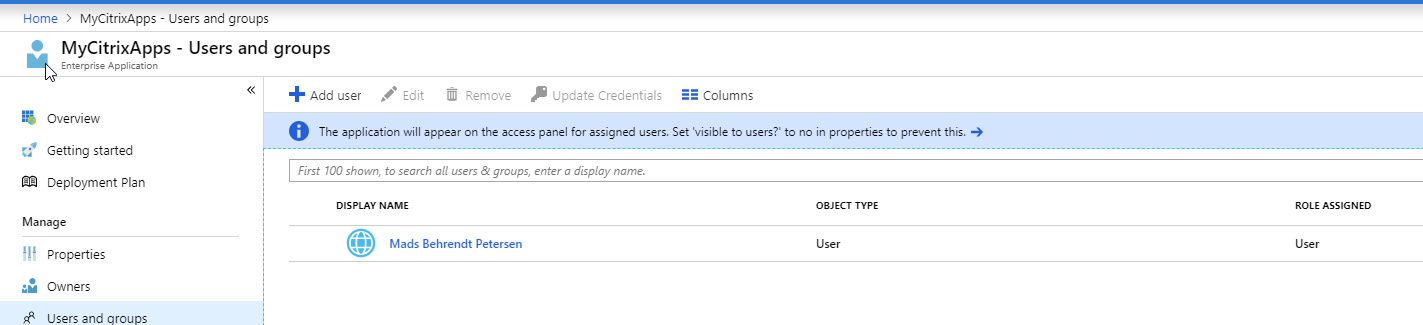
Remember to assign your new application to a group/user
Citrix ADC Configuration
Now I won´t go into most of the Citrix ADC configuration, since most of it will be like my last blog post, which you can read here: https://netscaler.dk/?p=67
But I will cover the feature in Citrix ADC 12.1 build 51.30 which is
Metadata reading and generation support for SAML SP and IdP configuration
Citrix ADC appliance now supports metadata files as means of configuration entities for both SAML Service Provider (SP) and Identity Provider (IdP). The metadata file is a structured XML file that describes the configuration of an entity. The metadata files for SP and IdP are separate. Based on deployment, and at times, one SP or IdP entity can have multiple metadata files.
As an administrator, you can export and import (SAML SP and IdP) metadata files on Citrix ADC.
For more information, see https://docs.citrix.com/en-us/Citrix ADC/12-1/aaa-tm/saml-authentication.html#metadata-reading-and-generation-support-for-saml-sp-and-idp-configuration
This will allow us to create a SAML server, just by pointing to the XML file. If you remember when we created the Azure Enterprise application, there was a field called “App Federation Metadata URL” that contained an URL.
Keep in mind that your Citrix ADC will have to be able to browse the URL. If it only has internal Access, you can download the XML file and put in on a server that the ADC can reach.
Now to setup a new SAML policy on the ADC, go to Security – AAA Appication Traffic – Policies – Authentication – Basic Policies – SAML – Servers and click Add.
Notice the new Export and Import. We will use the Import here, since we need the iDP information.
Like always give it a name that makes sense. I normally use the following format auth_location_type, so in this case it will be auth_azure_saml.
You will get the URL for the federation metadata URL under the Single Sign-on in the Azure App.
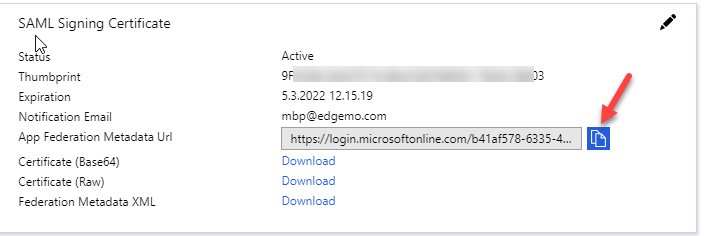
This is the URL you will copy to the Citrix ADC. My configured SAML server looks like this.

Under More I’ve changed the Signature Algorithm to RSA-SHA256 and Digest Method to SHA256.
Next we have to make the Advanced Policy (So the workspace App can trigger validation) and bind it to the AAA server we’re using. This was all explained in the previous blog post.
User Experience
Now to try something new, I’ve recorded a video. If this is something I should continue with, please let me know.
Like I started this blog post with, I’m using my work account from Azure in my private Azure Tenant. This is why my user is redirected to a local ADFS from edgemo
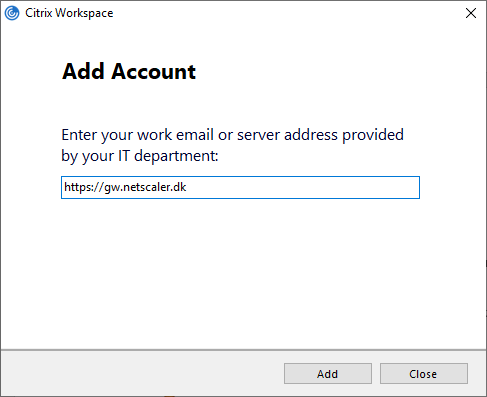
This is how the Workspace App looks like.
Type in the URL/Email.
Enter the username.
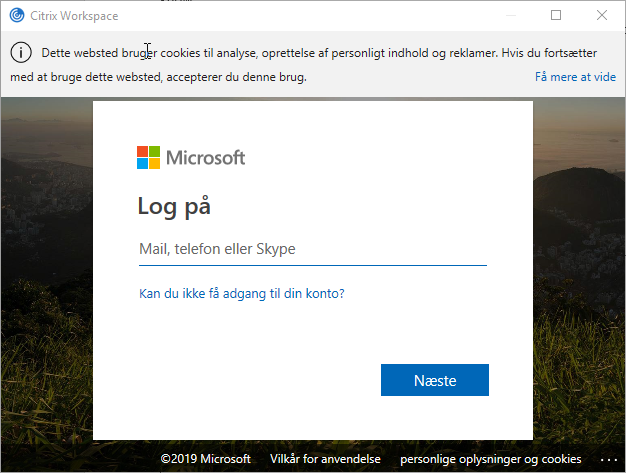
Same as in the video, I’m redirected to our company ADFS, because I’m using my edgemo account.
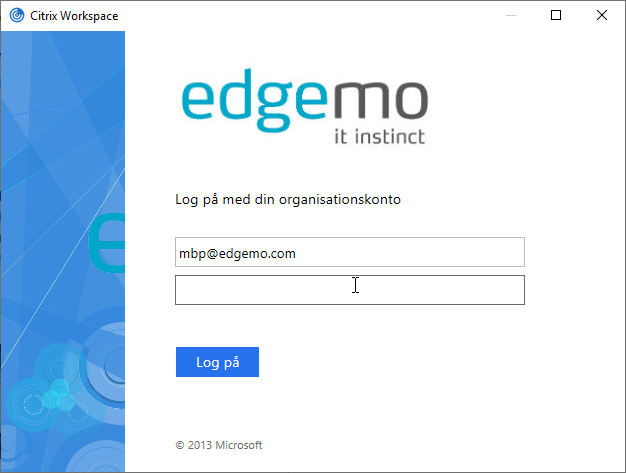
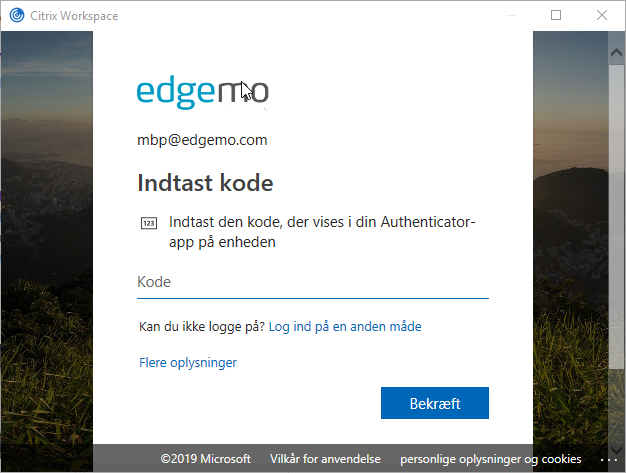
And the conditional Access prompts to for MFA.
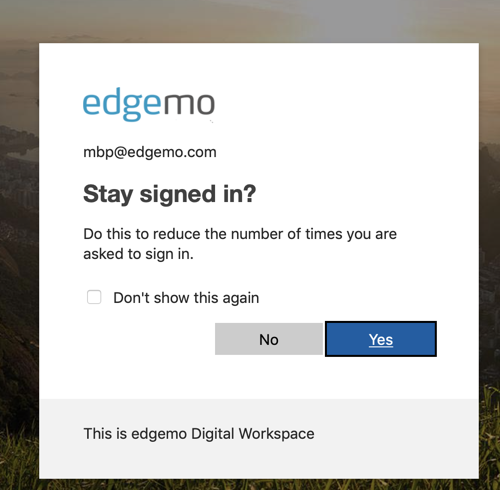
For a smoother user experience, you can click Yes (Ja) on the following screen, to reduce the amounts of times you must re-autenticate.
Now let’s try the same on a Mac, which is my primary machine.
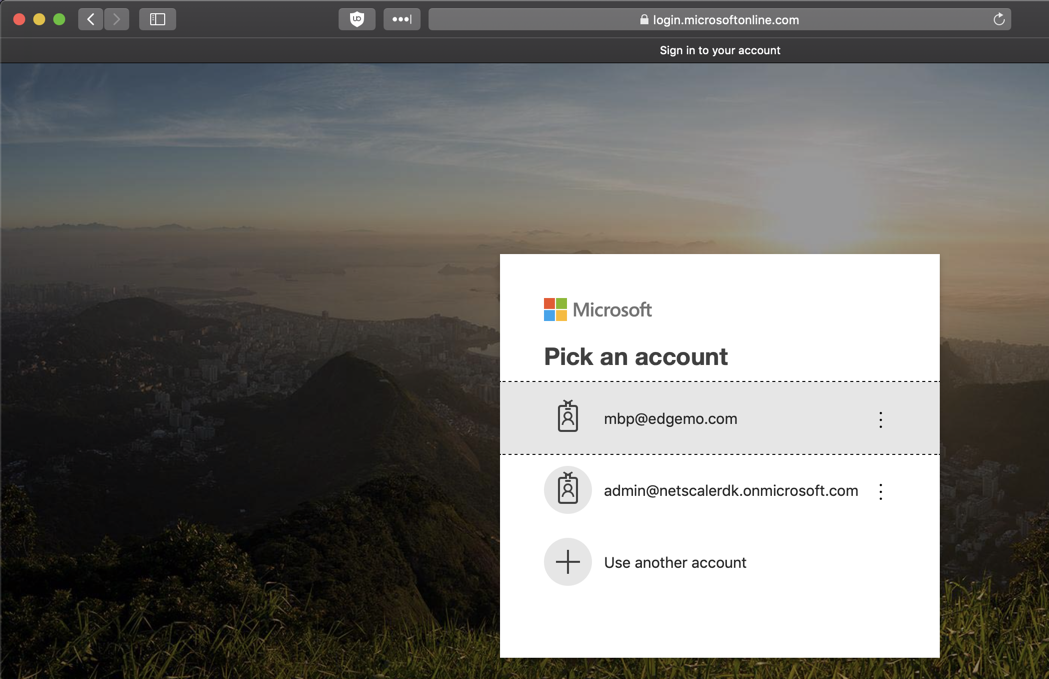
I enter https://gw.netscaler.dk and get redirected at once and I can select my account.
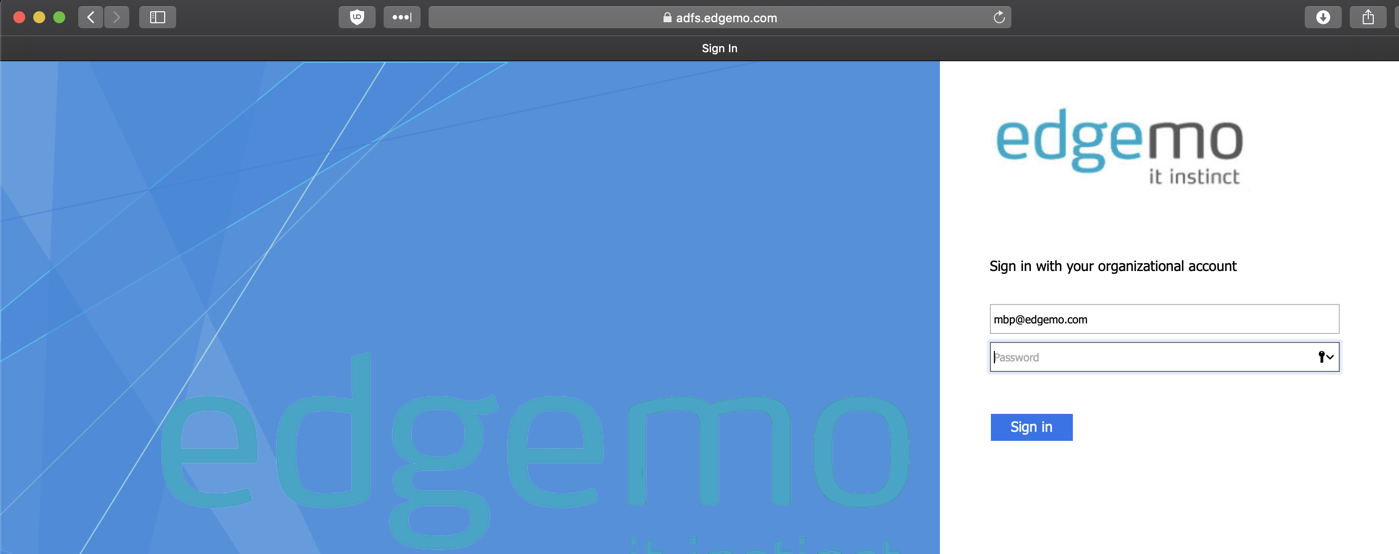
I’m redirected to the ADFS server of edgemo.
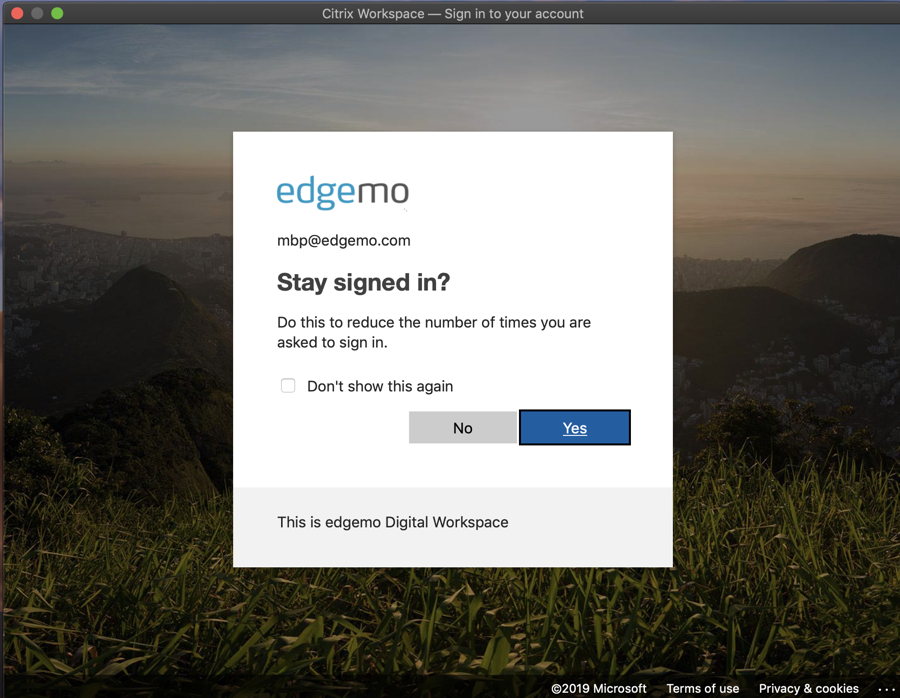
After I enter my password, I get the same question “if I want to reduce the number of logins”.
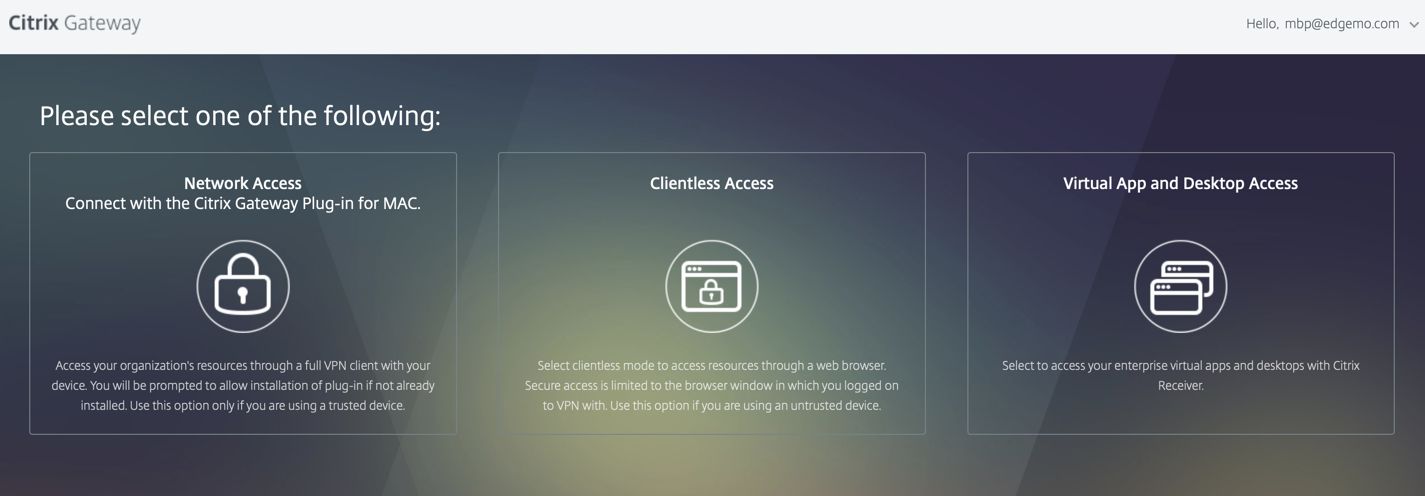
And since I’m running on a mac, I get direct access to the unified gateway, without running MFA.
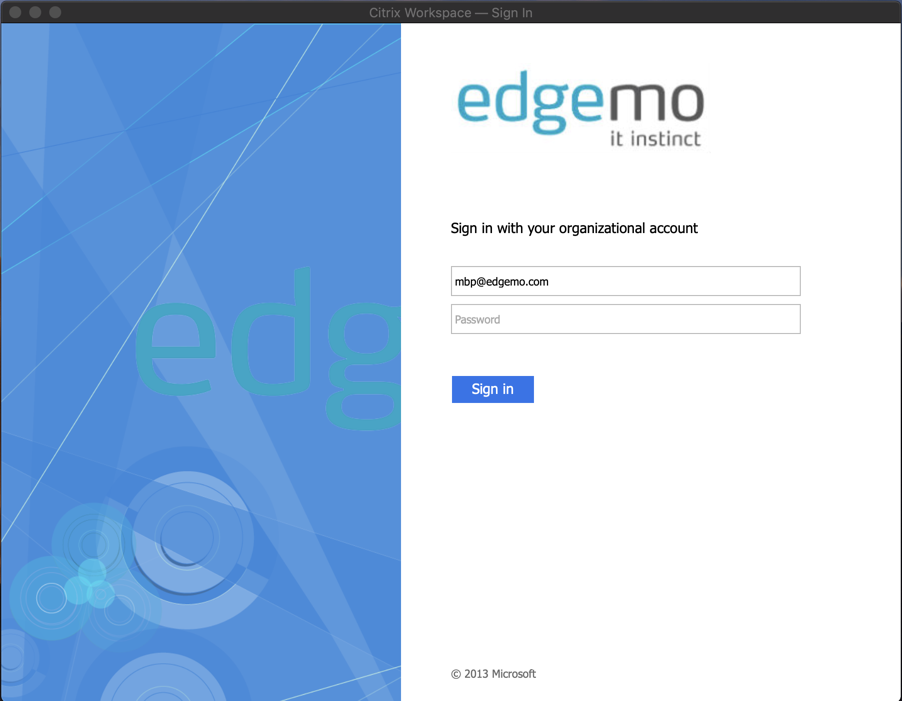
Let’s take a look on the workspace app on mac. I start by adding my account.
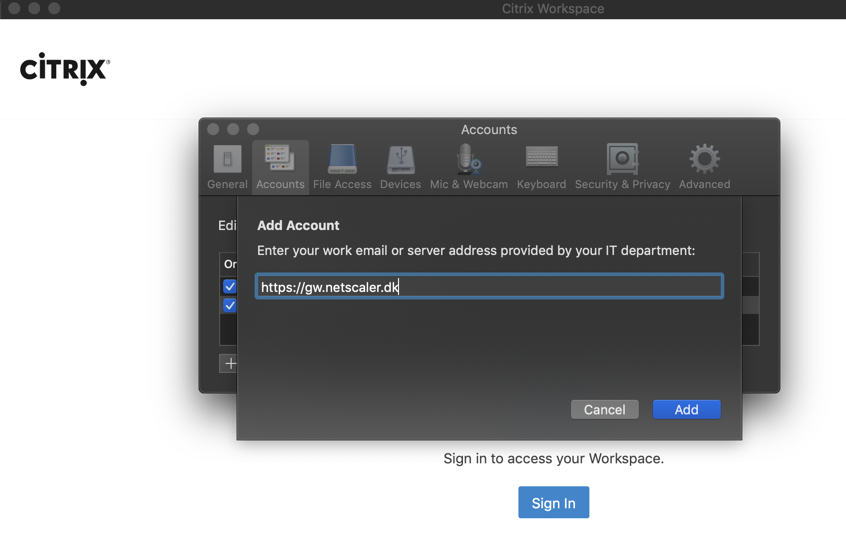
Notice that the “browser” doesn’t remember my account, so I have to enter my email.
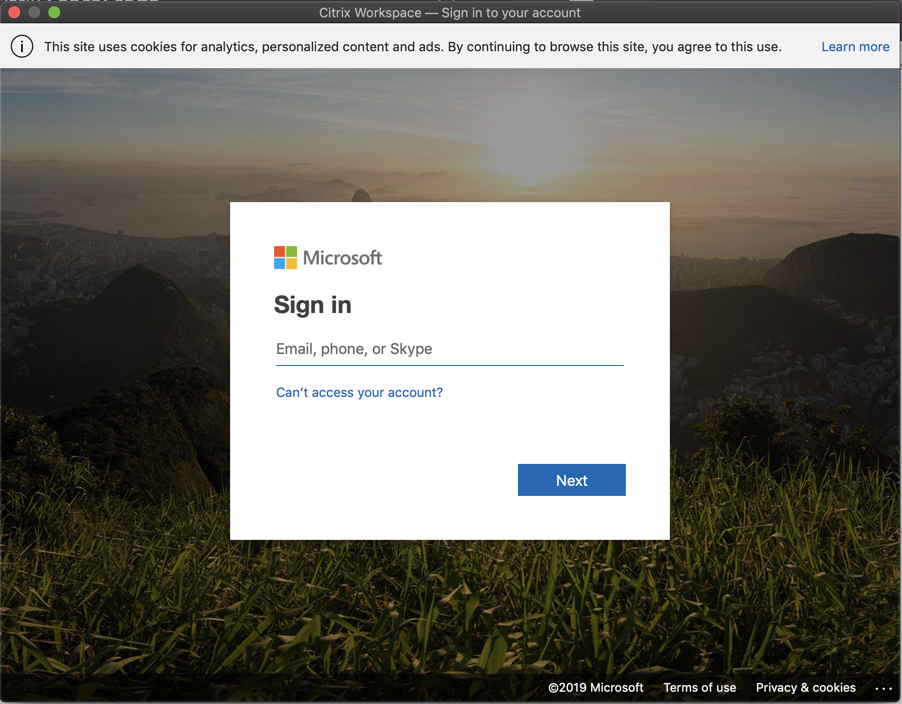
And I get redirected to the ADFS, where I can enter my password.
Like the last time, I get the prompt to reduce the number of logins (I keep clicking no, because I want to be able to show the whole process on request without issues).
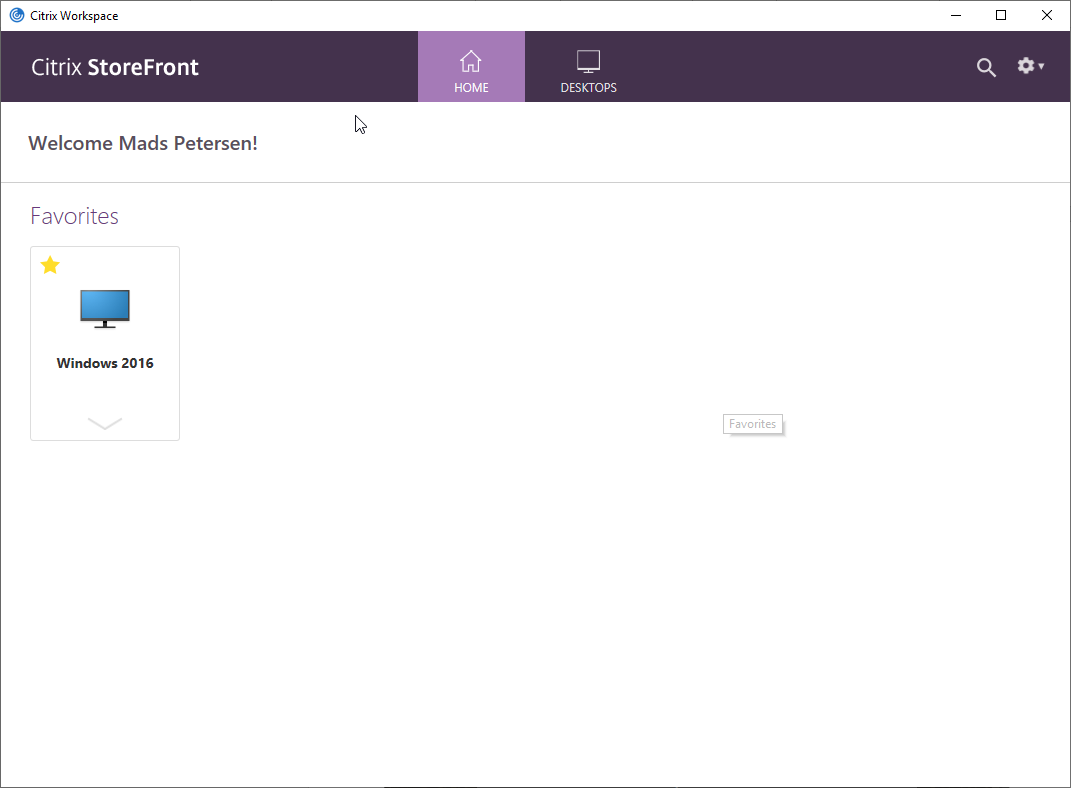
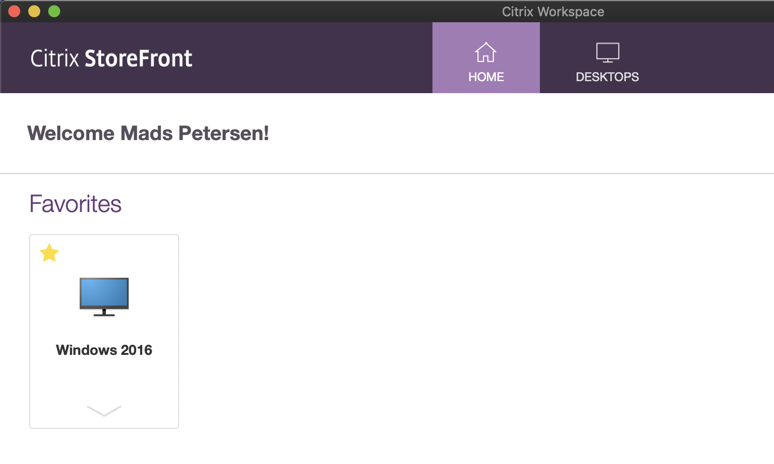
And I get access to my applications.
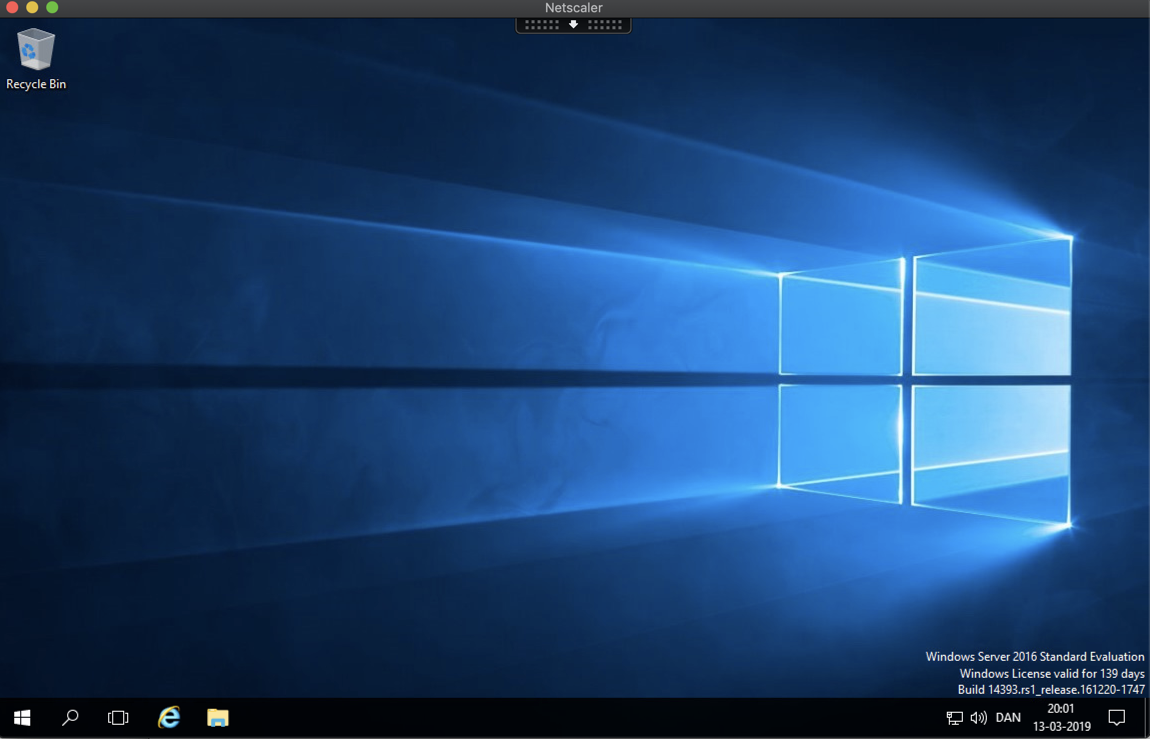
And this is how my launched desktop looks like.
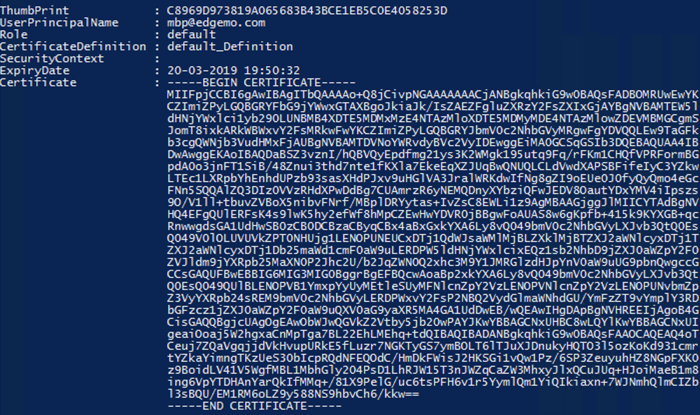
How to check FAS
To get the information about the FAS, you can go to powershell. First we load the Snap-in.
Add-PSSnapin Citrix.Authentication.FederatedAuthenticationService.V1
Now we can use a command to get the certificates issues by the FAS server.
Get-FasUserCertificate -Address Citrix.netscaler.local